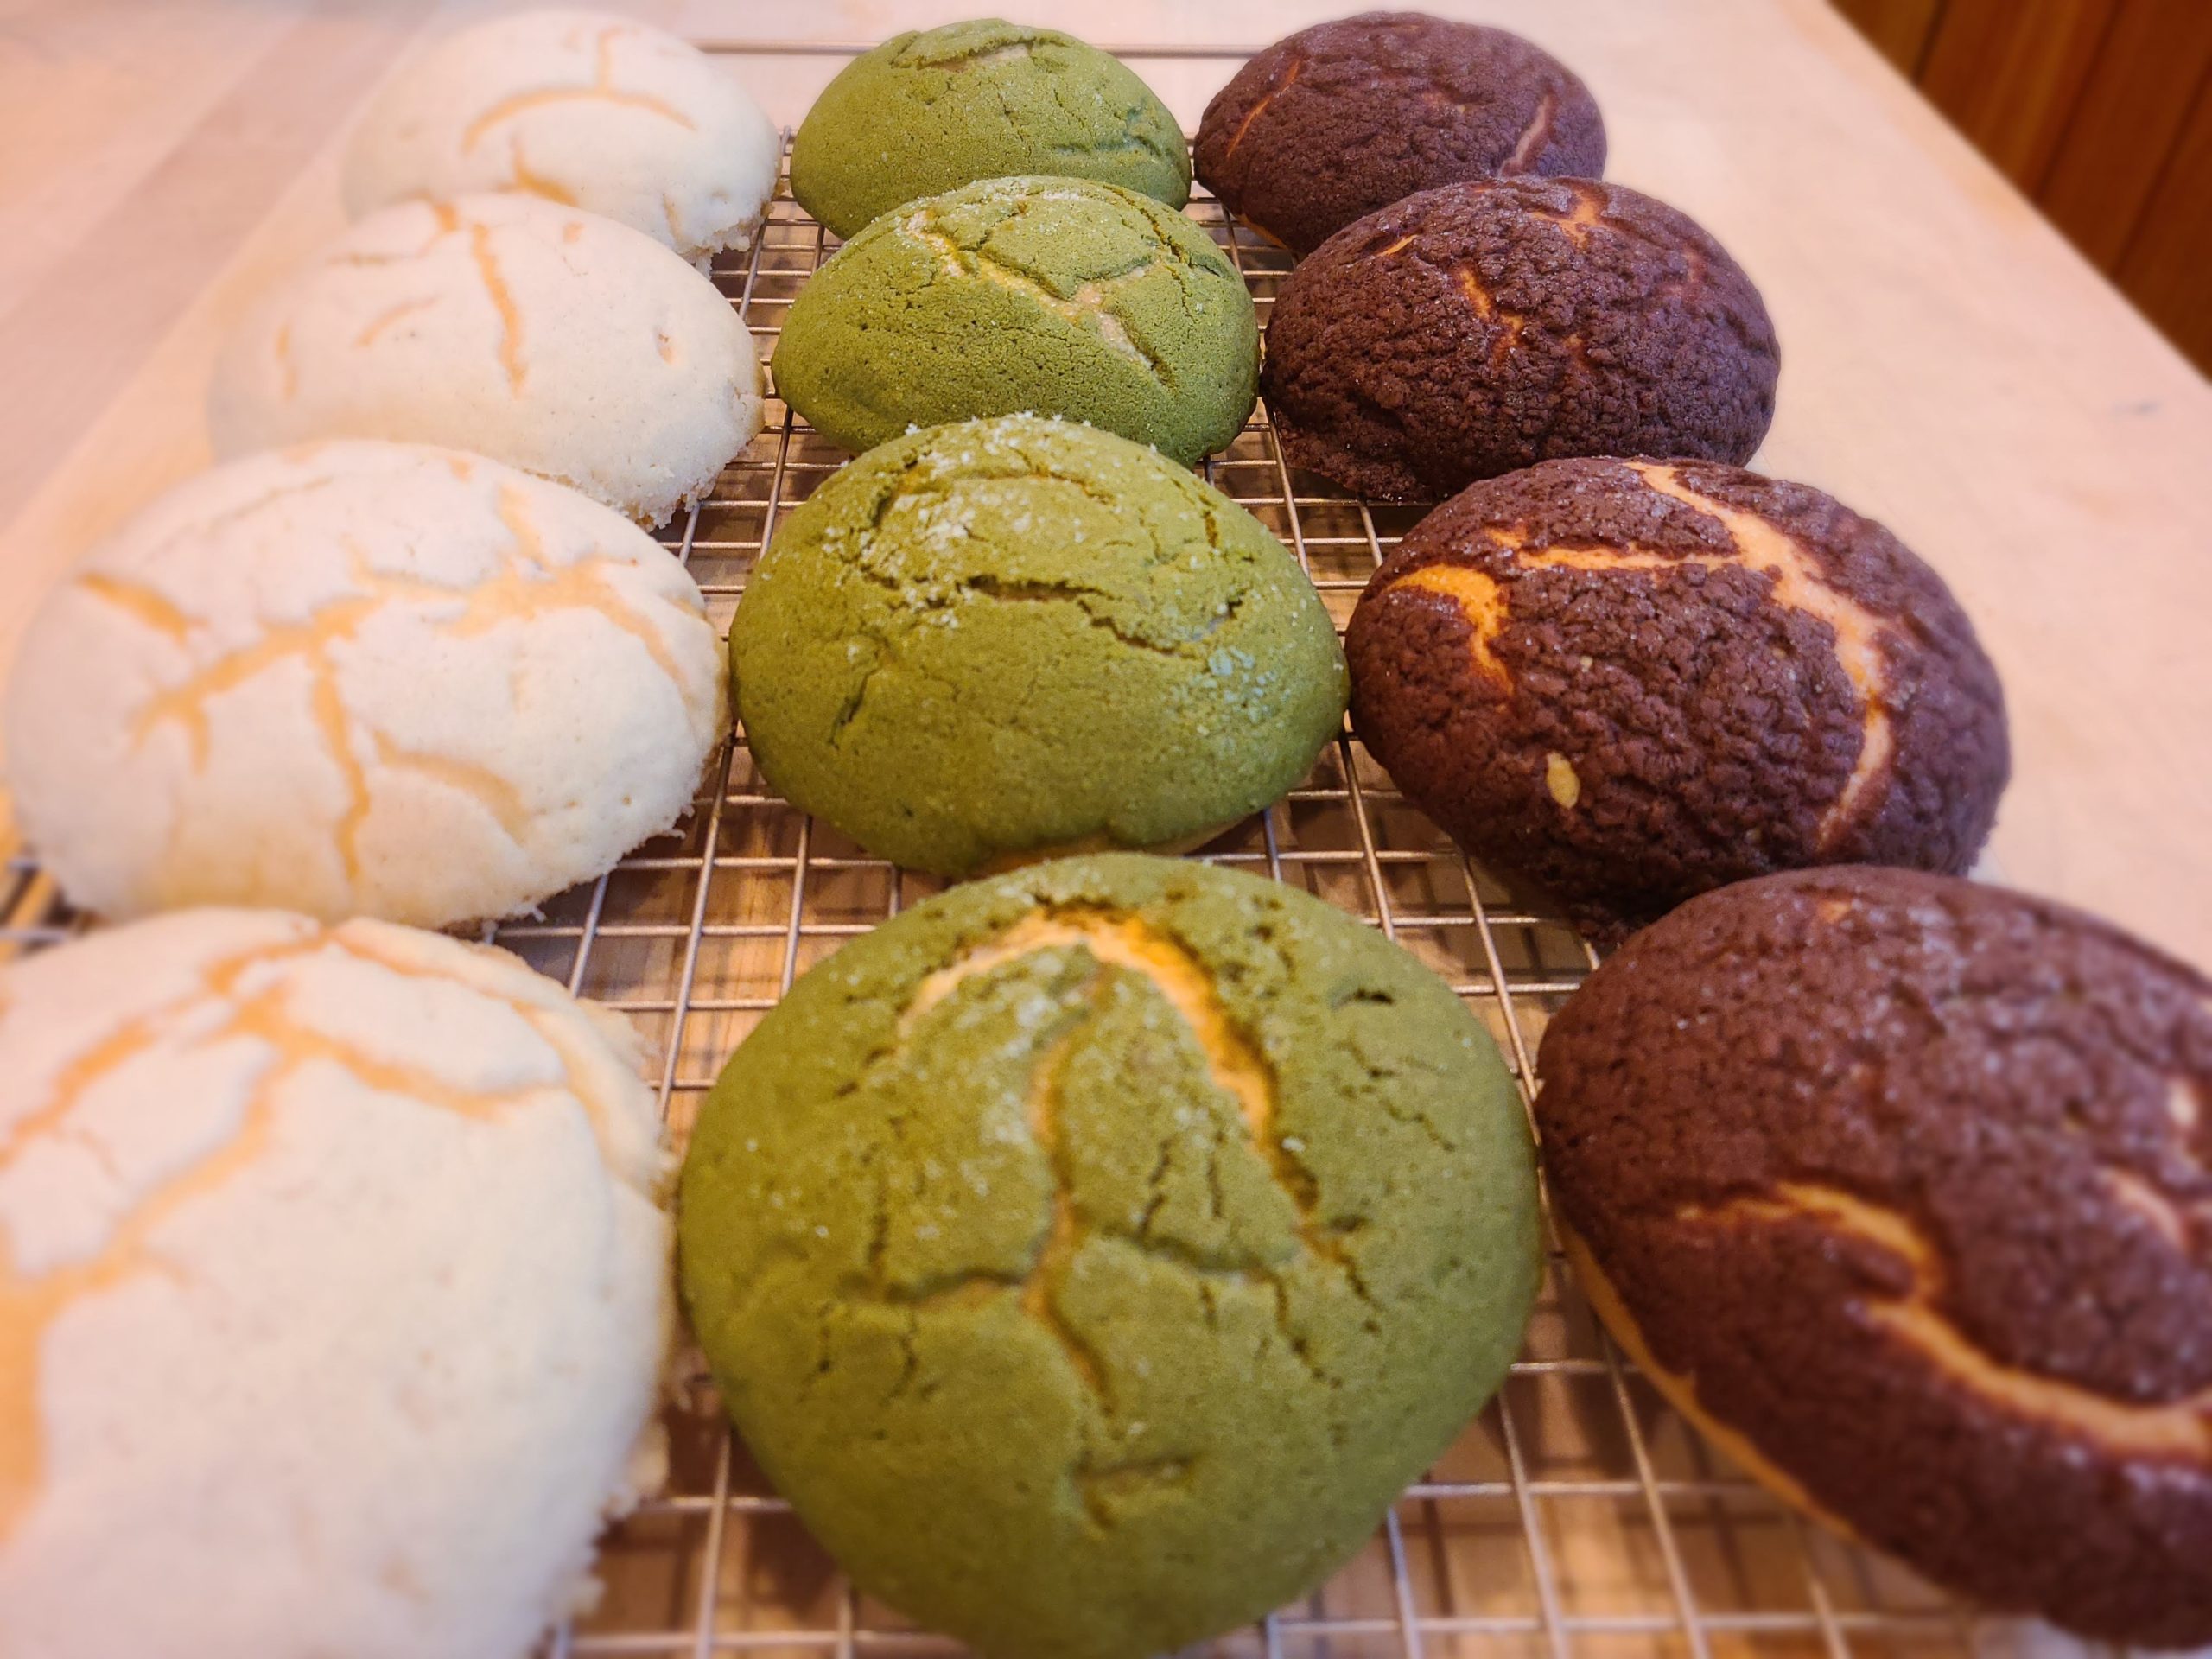
As a child, one of the activities that we would always do on Sunday afternoon was to stop by the bakery and buy bread for the week. My mom was usually the one in charge of the tray and the tongs. The rest of the family would wander around the hallways to see what we would fancy. Sometimes we may influence on the selection, but this wasn’t possible. We would surely add to the tray some muffins and a few croissants for supper. Now I must say that back then, conchas were not my first choice. I preferred garibaldi bundt cake muffins. In time, this has changed.
Nowadays, baking bread is something I enjoy immensely. And even when we try to not eat a lot of it in order to look after our carb and added sugars intake, conchas are an Achiles’ Heel. So, we allow ourselves to bake a batch or two throughout the year.

Ingredients
Equipment
Method
- In a stand mixer fitted with the hook attachment, combine bread flour, eggs, vanilla, sugar, active dry yeast and half the amount of milk. Once everything is hydrated and integrated, add the butter, and finally add the salt.
- If necessary, add the rest of the milk little by little. If not, continue kneading the dough to develop the gluten until you get an elastic window pane.
- When ready, pour into a large bowl previously greased with a little vegetable oil, cover with plastic wrap and let it slowly proof in the refrigerator for 12 hours.
- The next day, portion the dough into balls of approximately 60 to 80 grams and cover with clean tea towels.
- Let them proof for an additional hour on the kitchen counter or 45 minutes in the fermentation chamber.
- In a bowl, mix the butter, powdered sugar, and all-purpose flour. Add a little the milk only if it's necessary.
- If you are going to prepare crusts with chocolate and/or matcha green tea, divide into two or three parts and add the cocoa and/or matcha green tea and a dash of milk if necessary, mixing well to make a hydrated paste that isn't either sticky or chewy.
- Divide the crust into enough portions to cover the buns and flatten with your hands or with a rolling pin. I regularly refrigerate the crust, in order for it to harden a little and then I flatten it with the help of the rolling pin, in between two sheets of parchment paper. (Watch from minute 20 of the video for further reference)
- Brush some egg wash on top of the buns, paste the sugar crust, mark with the shell stamp if you have it on hand and dust with a little flour and sugar.
- Bake at 170 °C or 325 °F for approximately 15 minutes.
Notes
Below, you can watch my last batch of conchas. These are vanilla flavor and the décor I made since I have no concha stamp was with some cherry blossoms. Very adequate for the springtime.
A small difference you’ll see is that for this batch I prepared a sponge pre-ferment. In the end, there’s no difference, but you’ll have an additional approach to the recipe.
The video is in Spanish, but I have made sure to add the subtitles in English. So, activate them and enjoy.
