Love Pizza? Here one that is Delicious and Effortless
An excellent recipe to be prepared with your significant other, family, or friends and with very little effort. The condiments are to your taste.
health-check domain was triggered too early. This is usually an indicator for some code in the plugin or theme running too early. Translations should be loaded at the init action or later. Please see Debugging in WordPress for more information. (This message was added in version 6.7.0.) in /home/lagourz/www/wp-includes/functions.php on line 6121tinysalt se activó demasiado pronto. Esto suele ser un indicador de que algún código del plugin o tema se ejecuta demasiado pronto. Las traducciones deberían cargarse en la acción init o más tarde. Por favor, visita Depuración en WordPress para más información. (Este mensaje se añadió en la versión 6.7.0.) in /home/lagourz/www/wp-includes/functions.php on line 6121The recipes that shape my kitchen day after day and that we enjoy at home as we discover them and make them our own. We always try to eat what’s in season.

An excellent recipe to be prepared with your significant other, family, or friends and with very little effort. The condiments are to your taste.
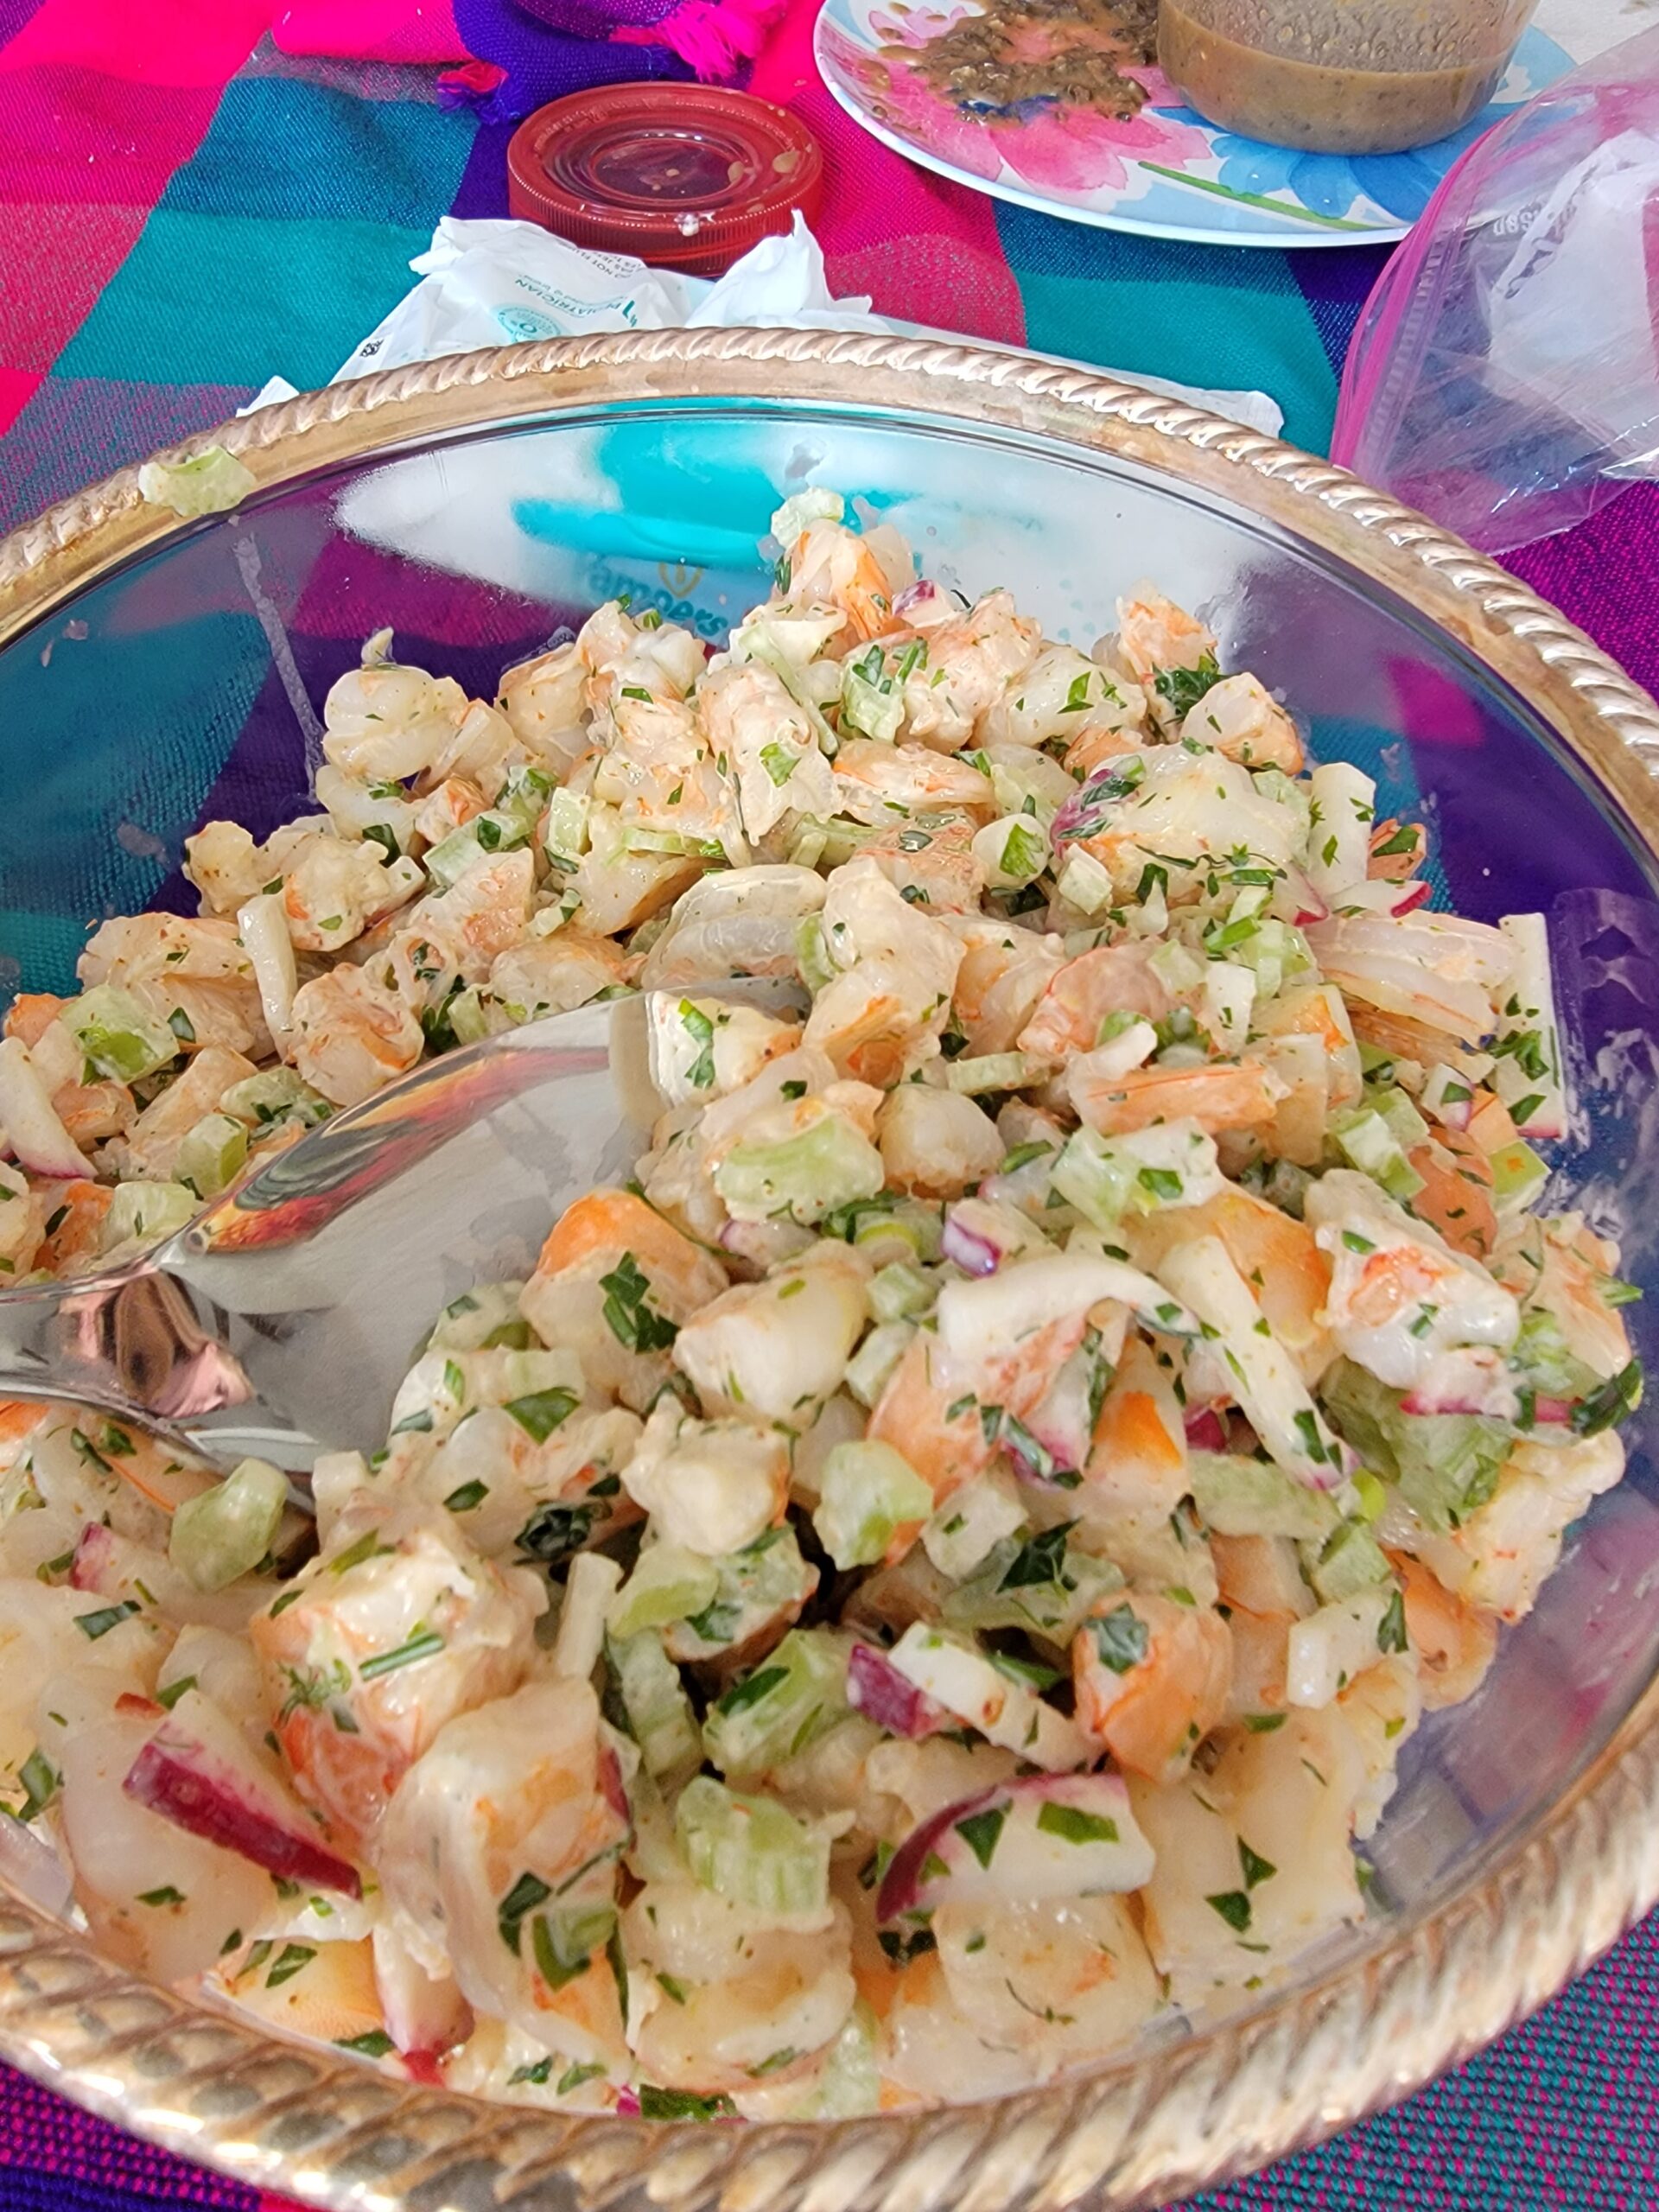
From the lobster roll I ate for the first time 25 years ago in Cape Cod in the New England shore comes this revisited version.

It seems to me that Caesar Salad is the most famous salad in the World. Here, a little about its history, its creation, and everything I do when I make it at home.

It seems that conchas are -in around the US. However, I truly believe this is our favorite bun in Mexico. We love them so much, that we will break our diet for a bite of these sweet sugary buns from time to time.
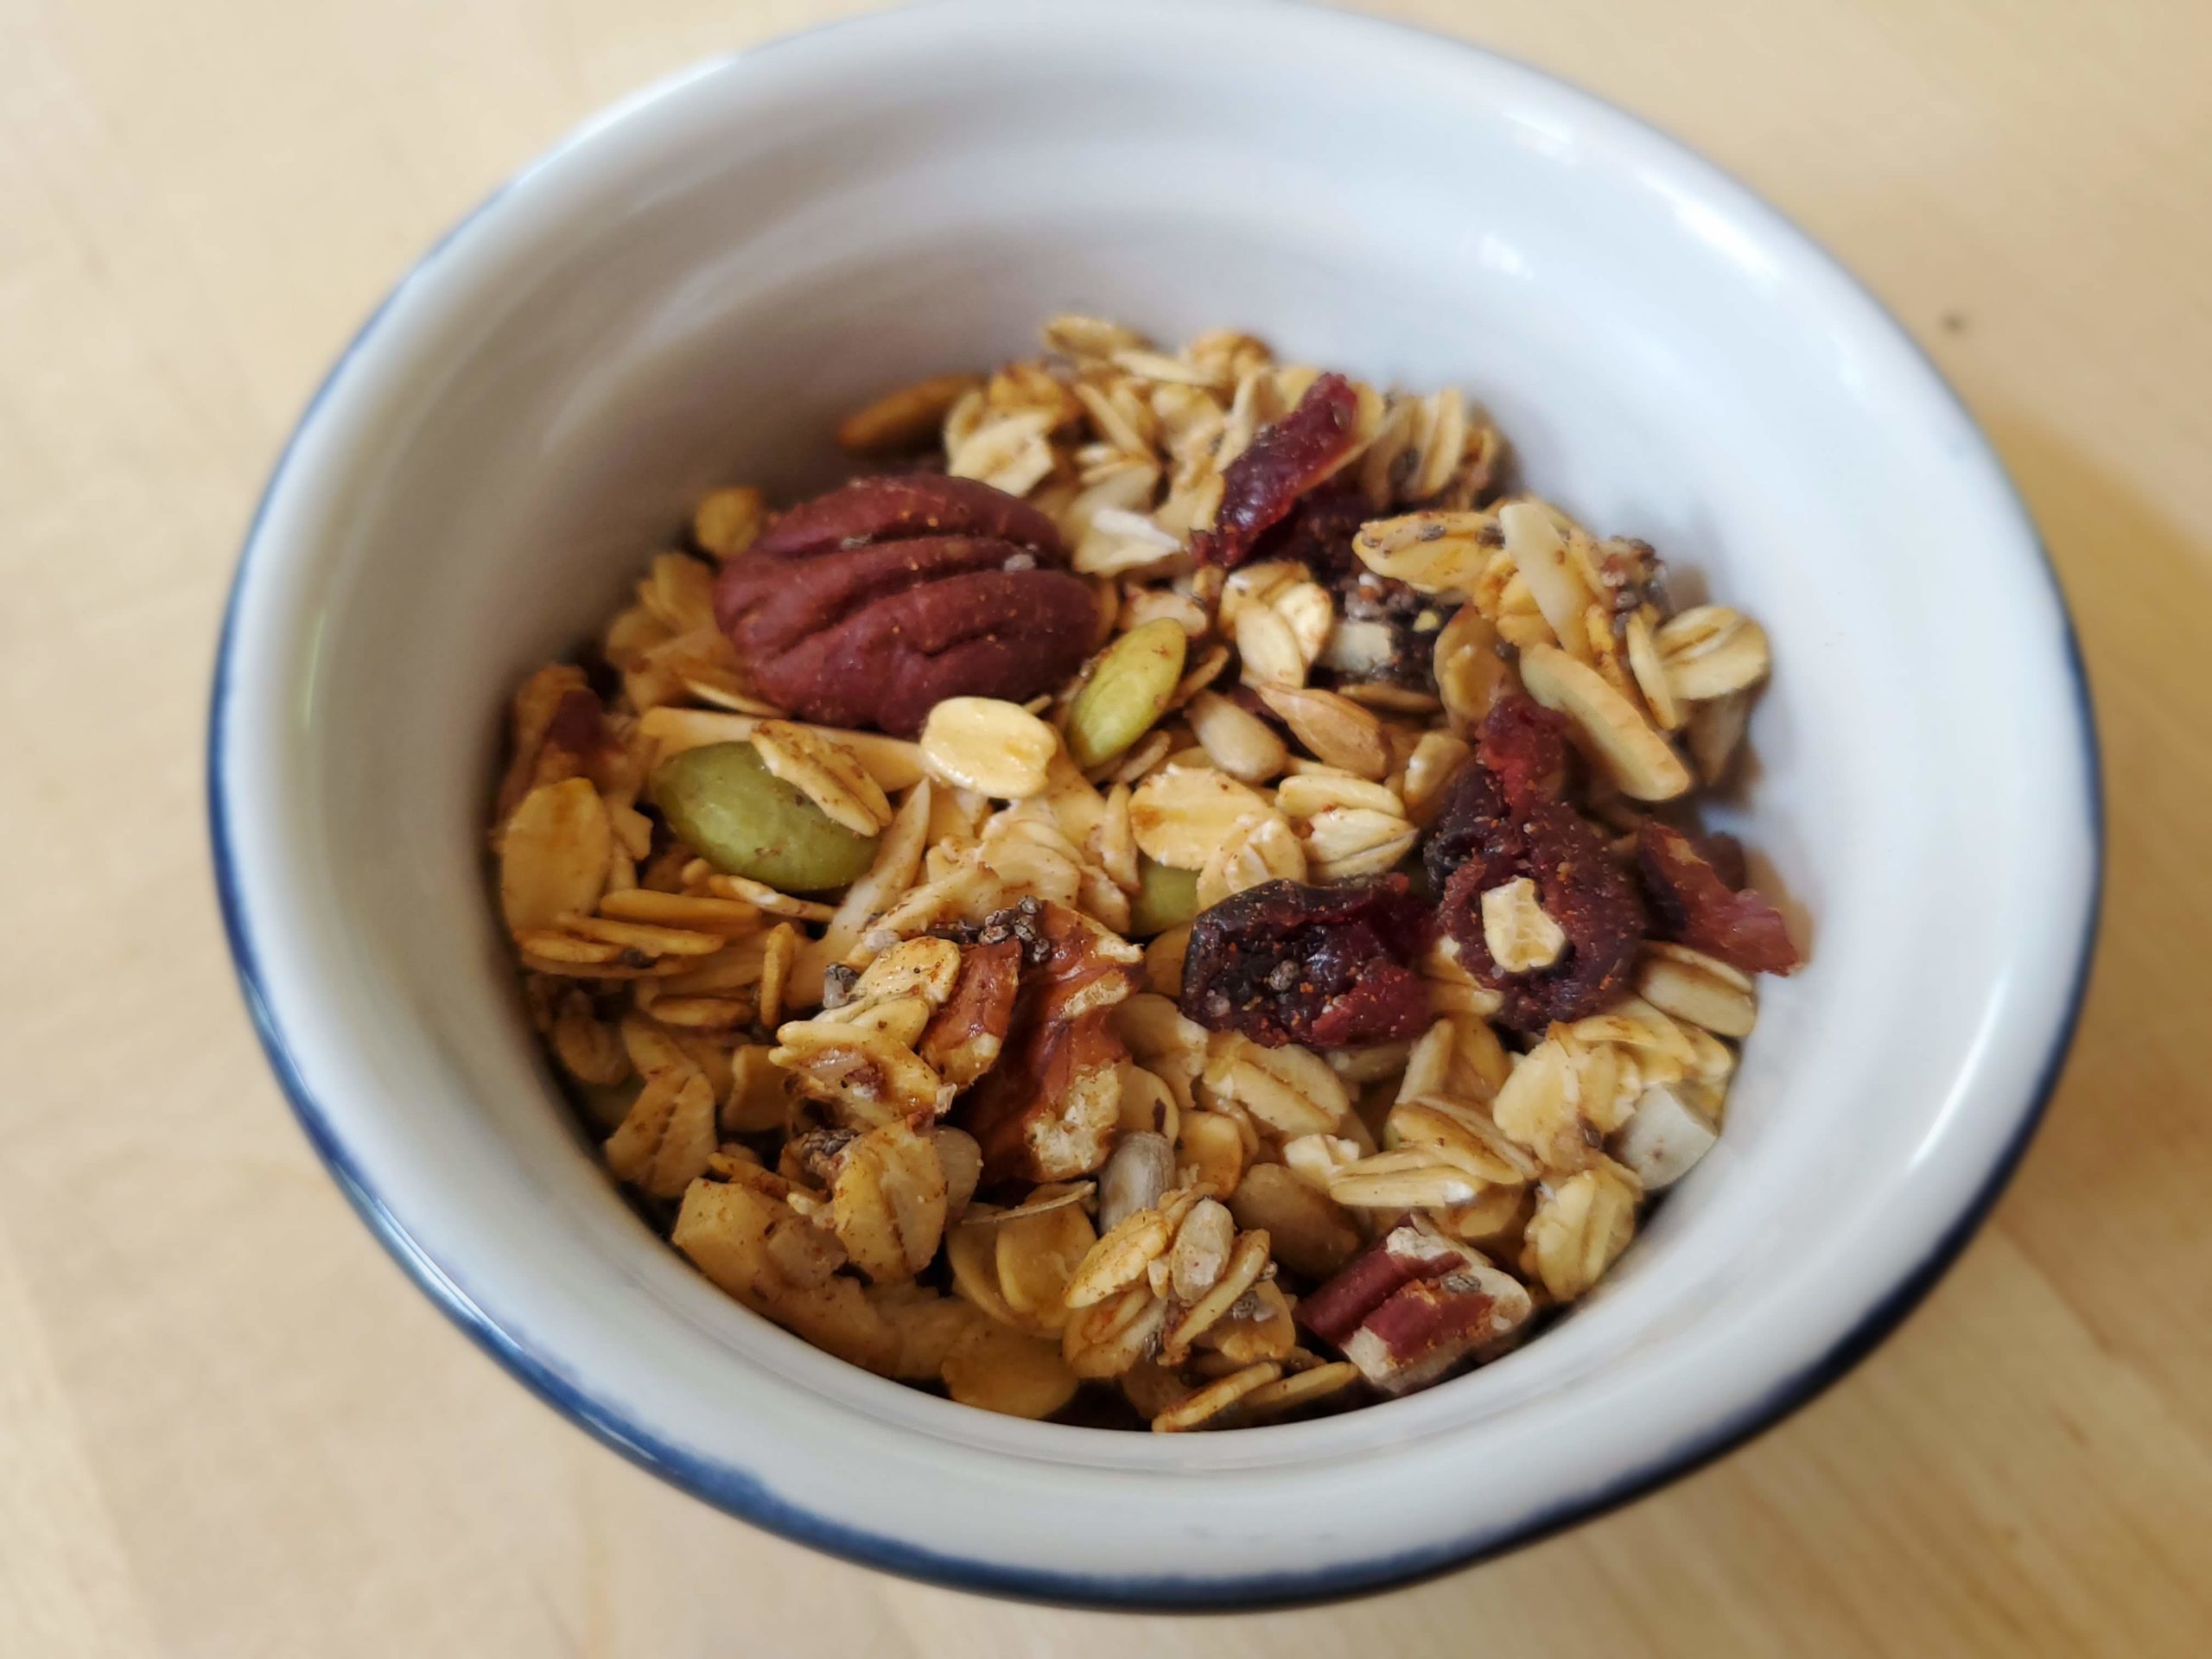
Homemade granola couldn’t be easier. This easy homemade granola recipe is the perfect breakfast or snack for your family.
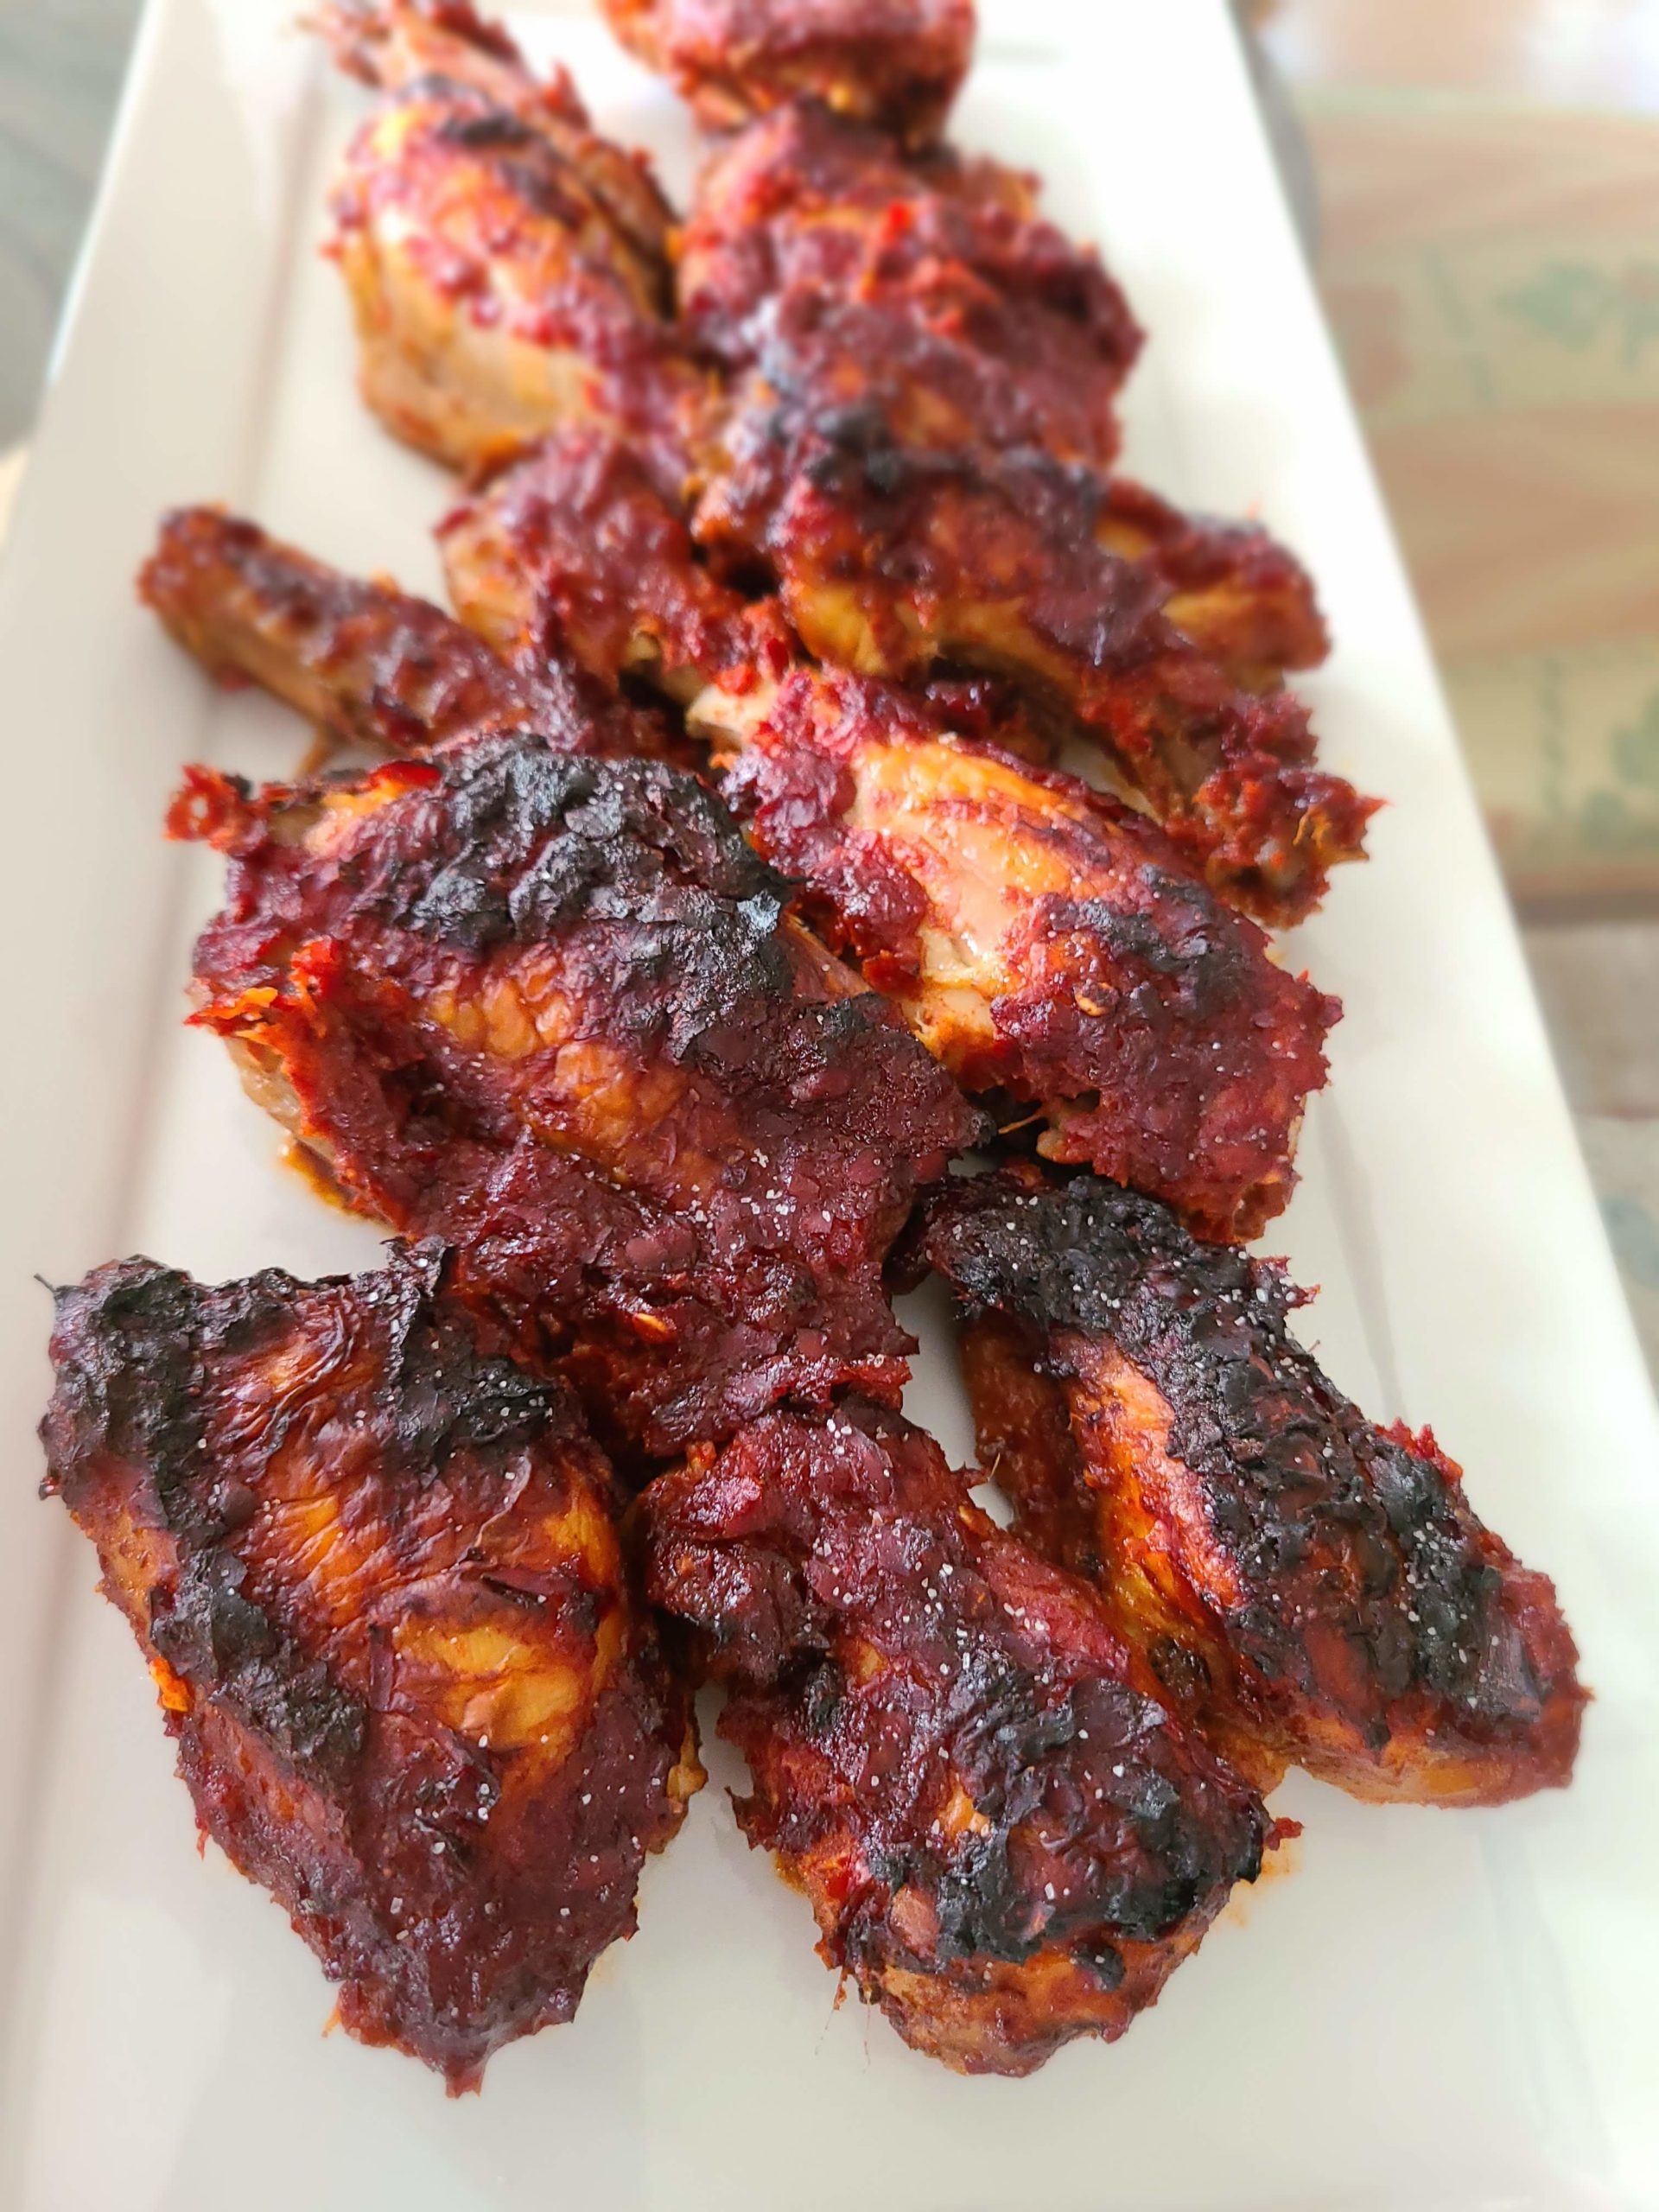
Do you love enjoying Tacos Al Pastor in your favorite Mexican Restaurant? I hope you enjoy your easy tacos al pastor! Homemade!
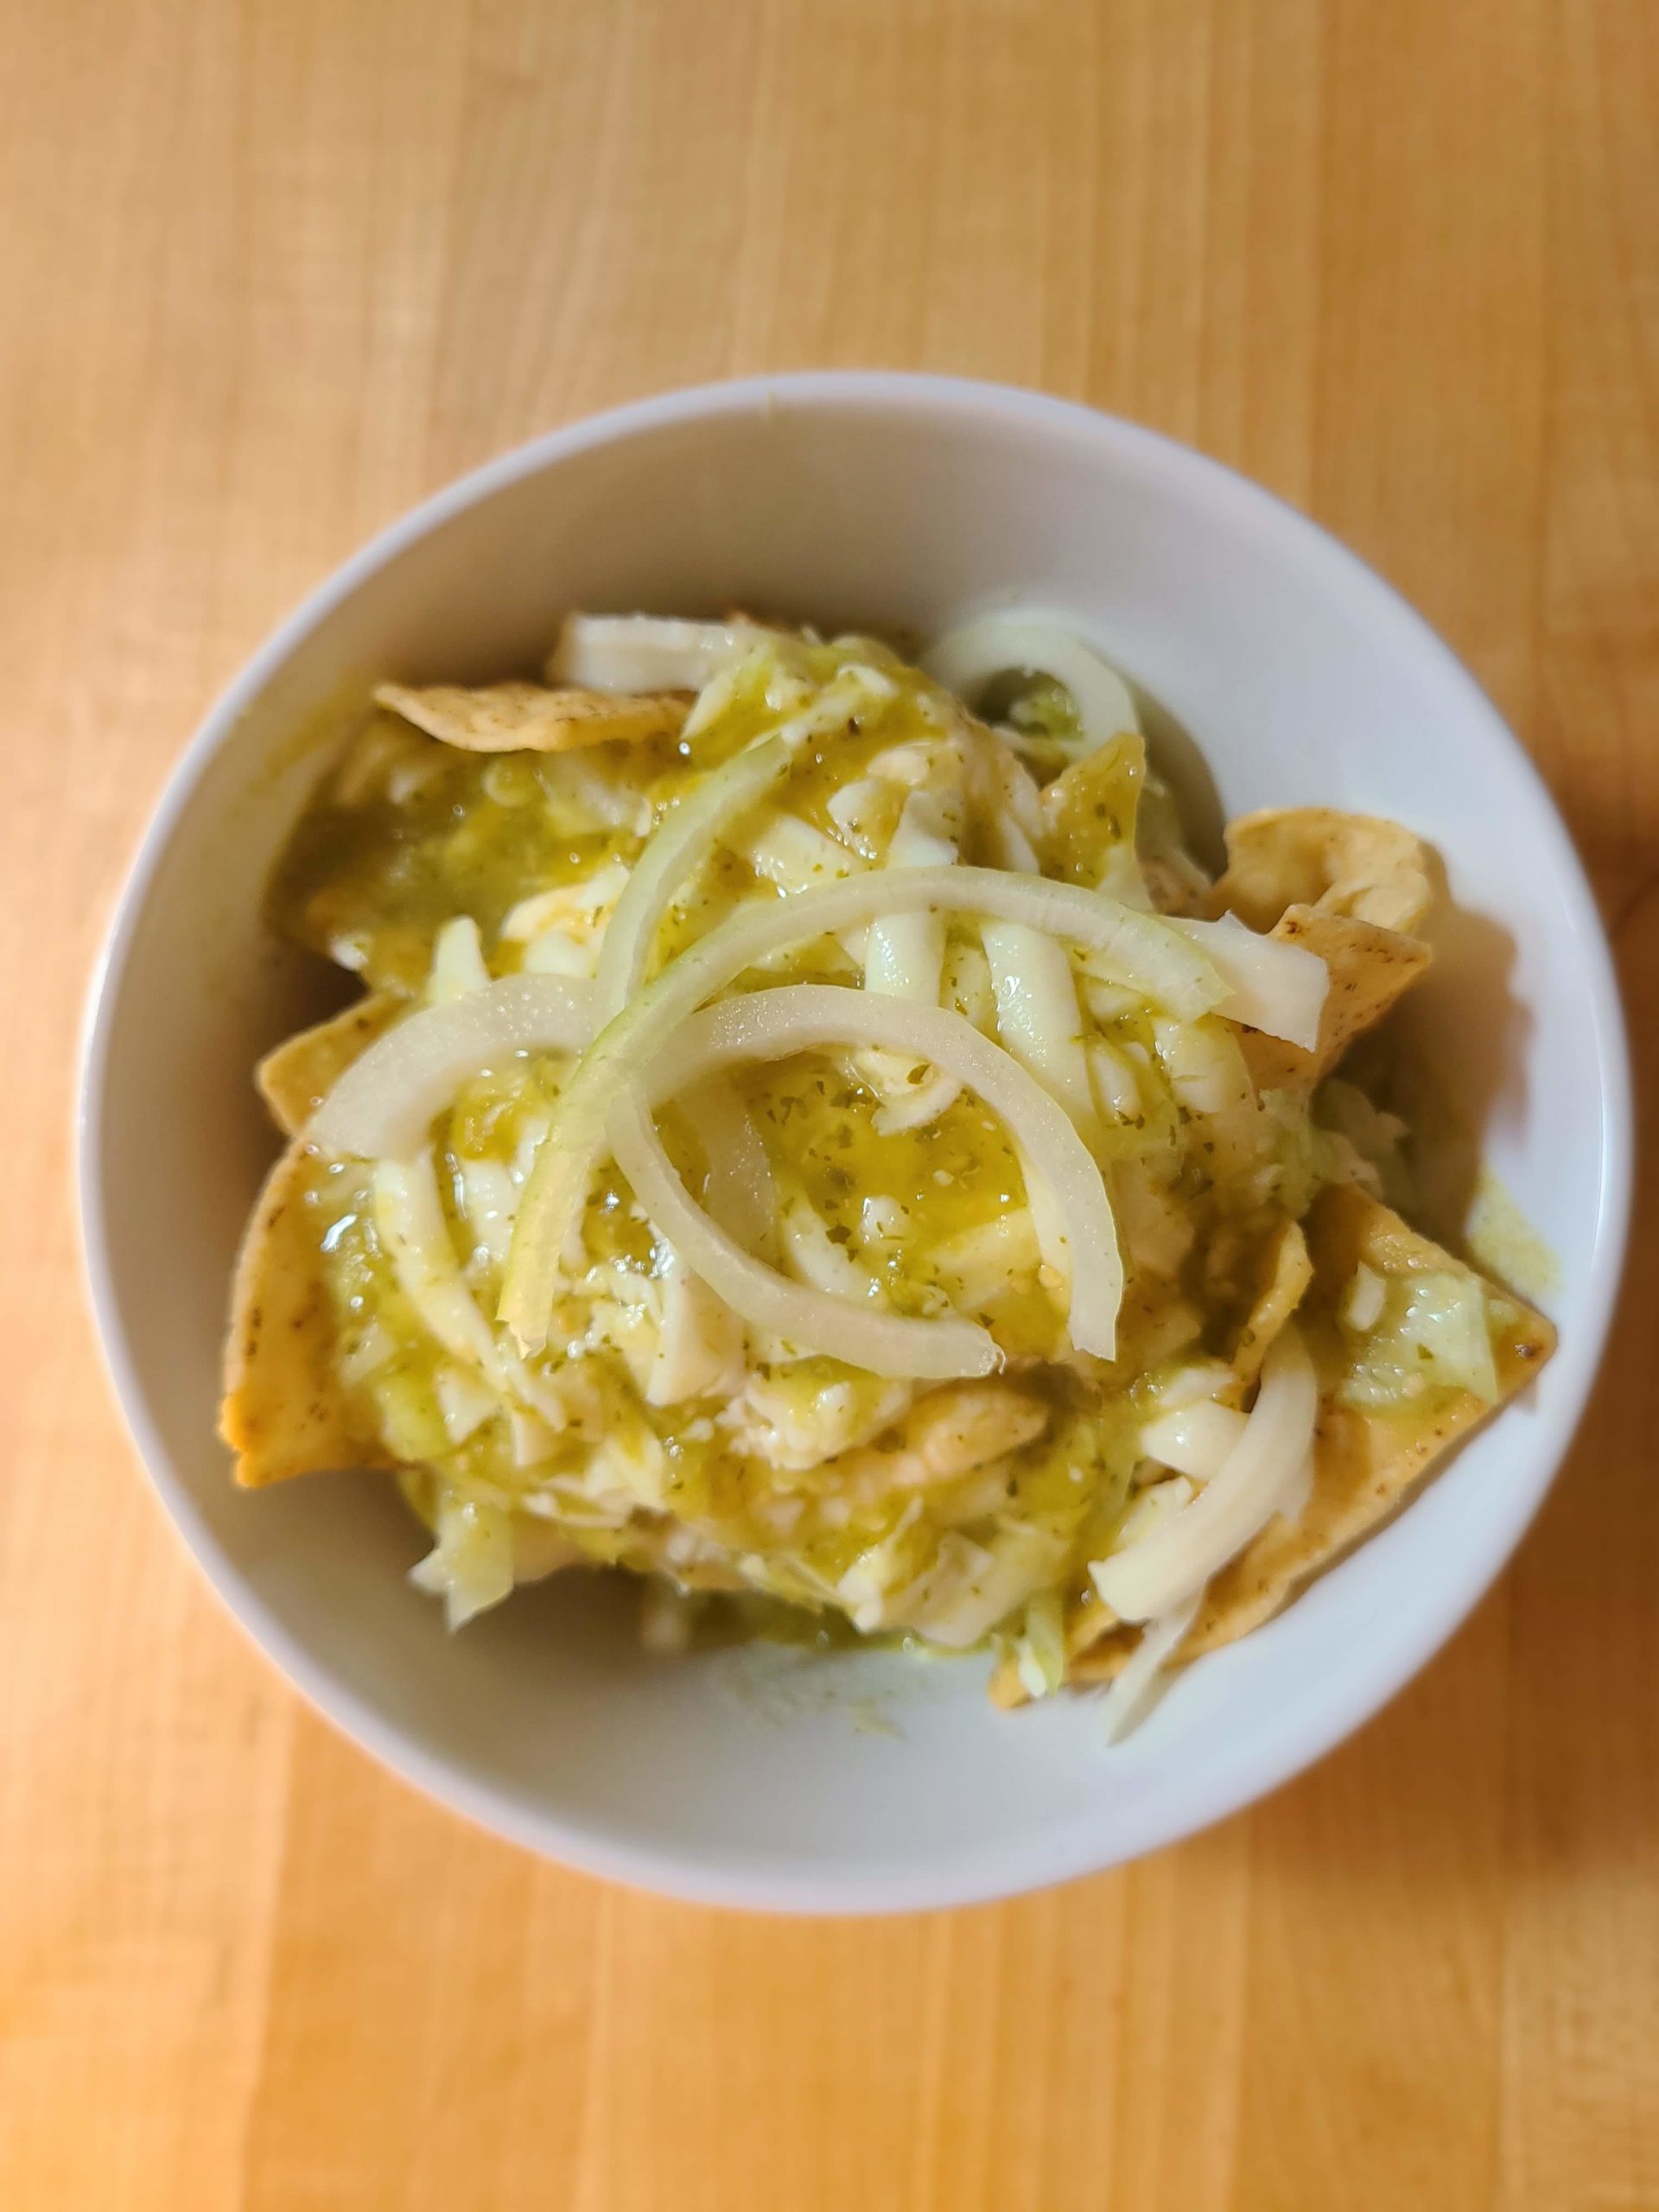
Enjoy our easy chilaquiles recipe for your next meal. This tasty Mexican casserole is made with corn tortillas, dried tomatoes and chicken.

You’ve got to try our Strawberry Gazpacho! Gazpacho is a cold soup, normally made with tomatoes, but strawberries are better.
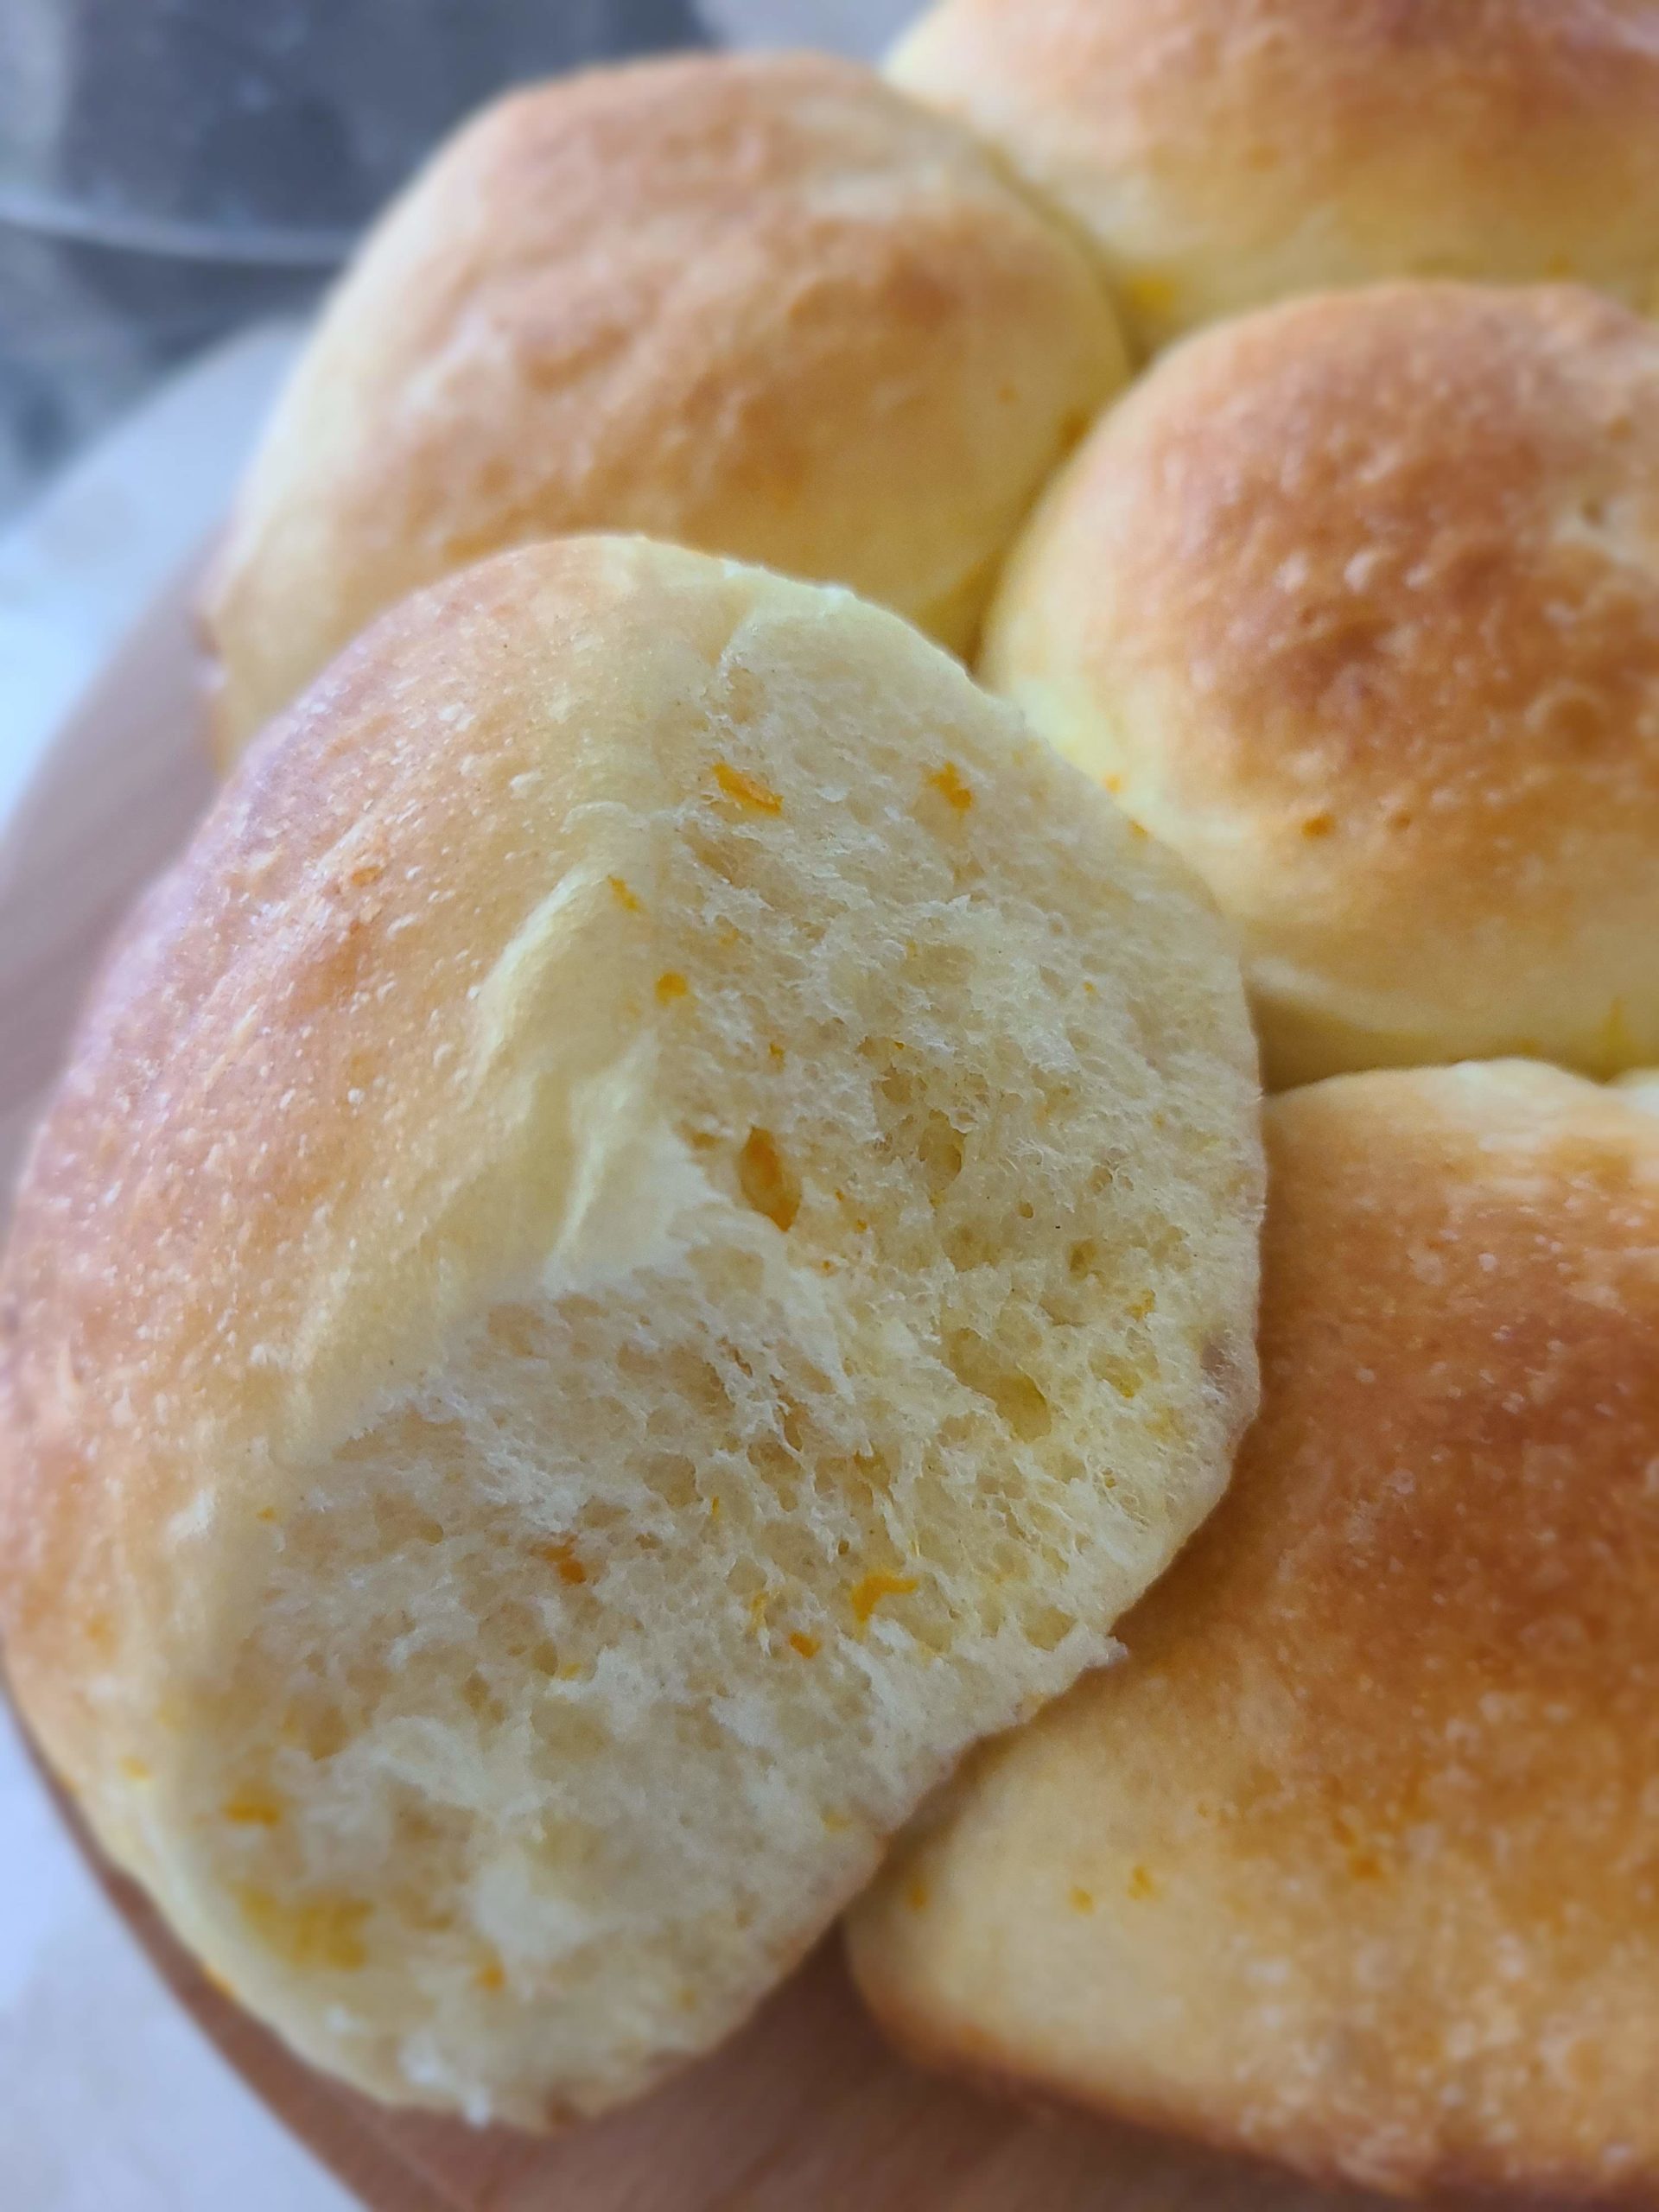
How to make Mexican Orange Sweet Buns ? We are following the classic recipe using quality ingredients and creativity.

Our delicious cheesecakes with fresh summer berries use a basic baked cheesecake recipe, enhanced with new ingredients.