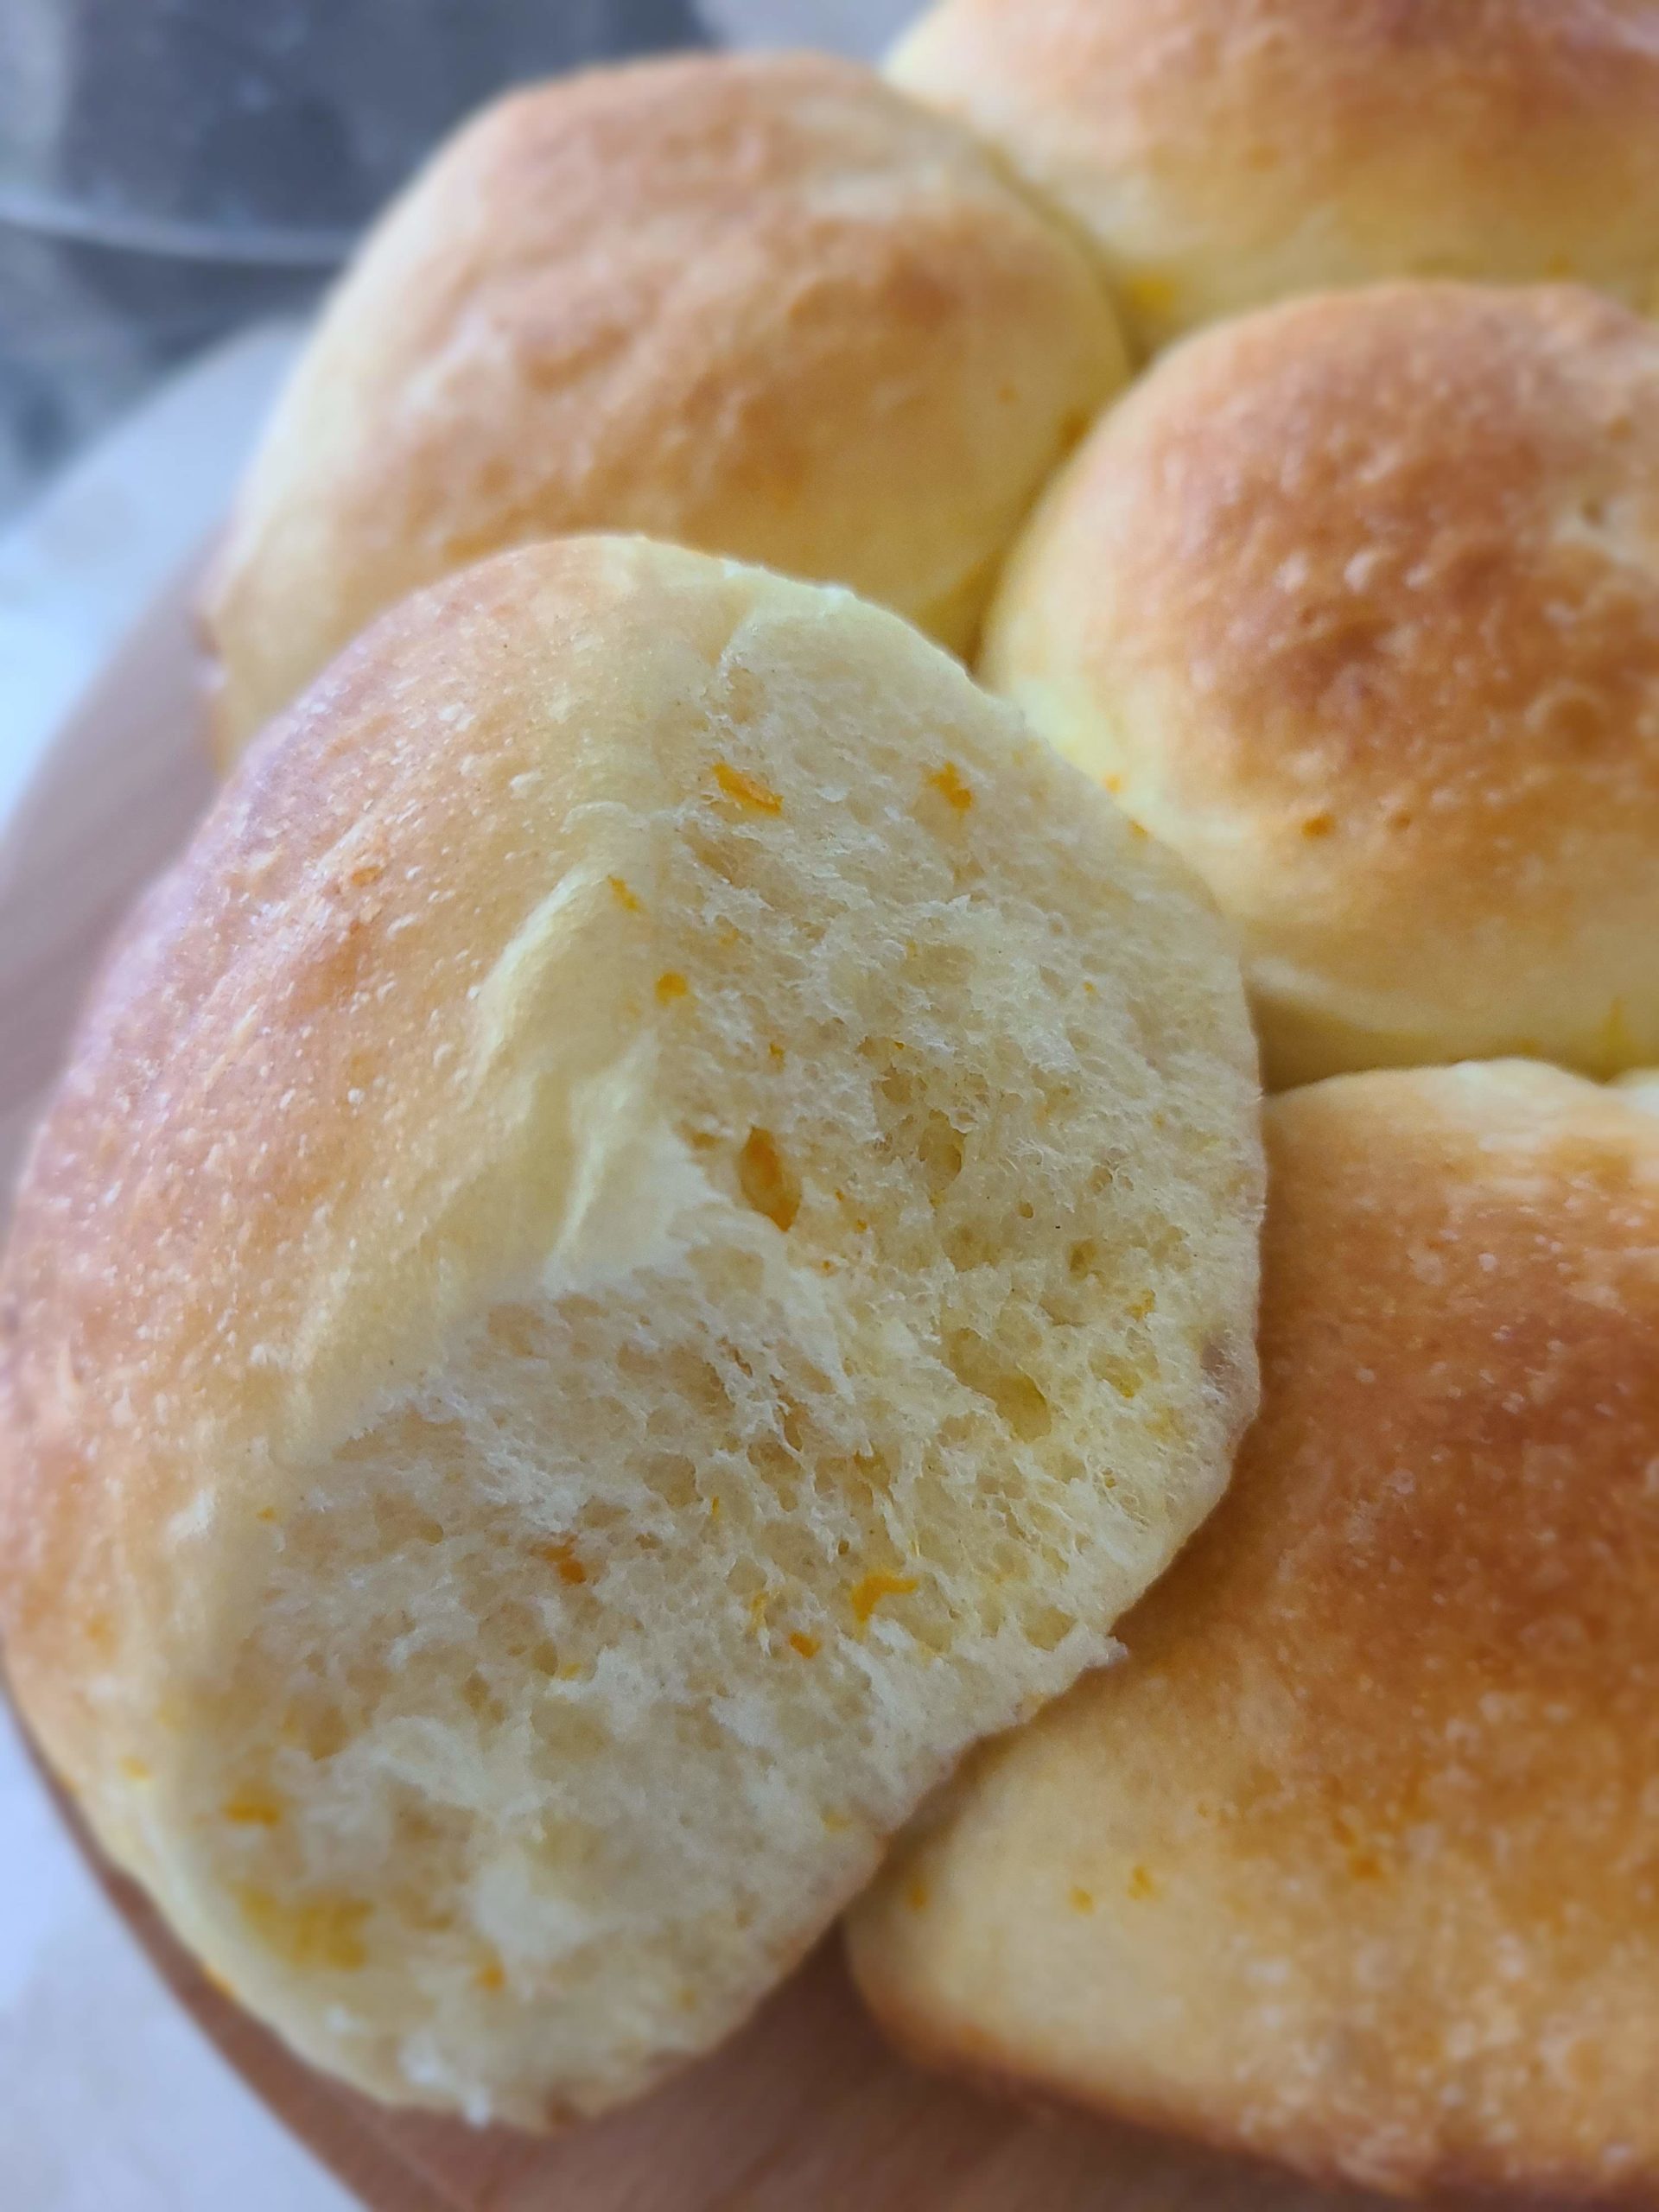
I believe my generation devoured, at least once in our youth, the industrial packages with brioche-like sweet buns as if they were the most delicious thing in life. As a matter of fact, I don’t even remember buying them at the bakery. I don’t even remember there being a version selling them by the piece.
As part of the transformation my cooking has suffered as an immigrant to a foreign land, I constantly try to reproduce such types of breads that would remind me of my childhood. I still remember my first tries. They were soooo bad. They literally were horrible. And even though many of them have started out in an uneducated way but inspired, I would look up for a recipe in a book or a blog like this one sharing different versions of the classics. But I have to admit that as part of my culinary training I have incorporated a good amount of hours before the baker’s oven to improve the quality of my small home production.
To date, I have almost stopped buying bread completely, unless I find an artisan I am interested in tasting the products of their workshop. Now, this recipe, I learned it a few months ago and even when I haven’t managed to master it, several around me have already fallen in love with it. Now, I invite you to try it and share with me what happens.
Equipment
- Scale
- Small bowl
- Plastic wrap or kitchen towel (clean and dry)
- Zester
- Dough scraper
- Pastry brush
- Cake mold
Ingredients
- 250 g all-purpose flour
- 4 g active dry yeast
- 50 g sugar
- 60 g butter
- 1 egg
- 2 oranges, zest
- 8 g salt
- 25 g milk
- 100 g fresh water, (approximately)
- 50 g melted butter, for glazing
To Prepare
For the sponge:
- Mix a couple tablespoons of the flour, the yeast and two or three tablespoons of the water in a small bowl to prepare a thick and sticky dough. Take a little of the already weighted amount of flour and water for this step. Additionally, I like adding a pinch of sugar to promote the yeast's activity.
- Cover with a dry kitchen towel or a little plastic wrap for about 15 minutes on the counter for the yeast to start being active.
Prepare the dough:
- This is a bread I learned how to do by hand and carry on doing it like this, at least for now. Therefore, make a volcano on your counter with the flour and inside the crater add the sugar, milk, egg, and sponge.
- Use your dough scraper to add little by little dry flour into the crater. If necessary, add a little of the water you have available. However, you may not need any at all. Whenever the dough is fully hydrated, add the butter and carry on kneading to incorporate it into the dough.
- Add then the orange zest and salt, and continue kneading for about 10 minutes.
- Knead until your dough is elastic, yet not sticky.
- Verify how elastic the dough is. You will see it will stretch and will almost be see-through.
- Portion in balls of 50 grams and let it proof for 2 hours in the refrigerator. Don't forget to cover it with plastic wrap or with your kitchen towel.
- Take out of the fridge and let it come to temperature for about 30 to 45 minutes. Glaze with the melted butter.
- Bake for approximately 20 minutes at 180 °C or 350 °F.
- Unmold and let it cool down on a rack.